Okta
The Okta connection form, the API Services app and its private key, the check messages, tokens from your services and harness login.
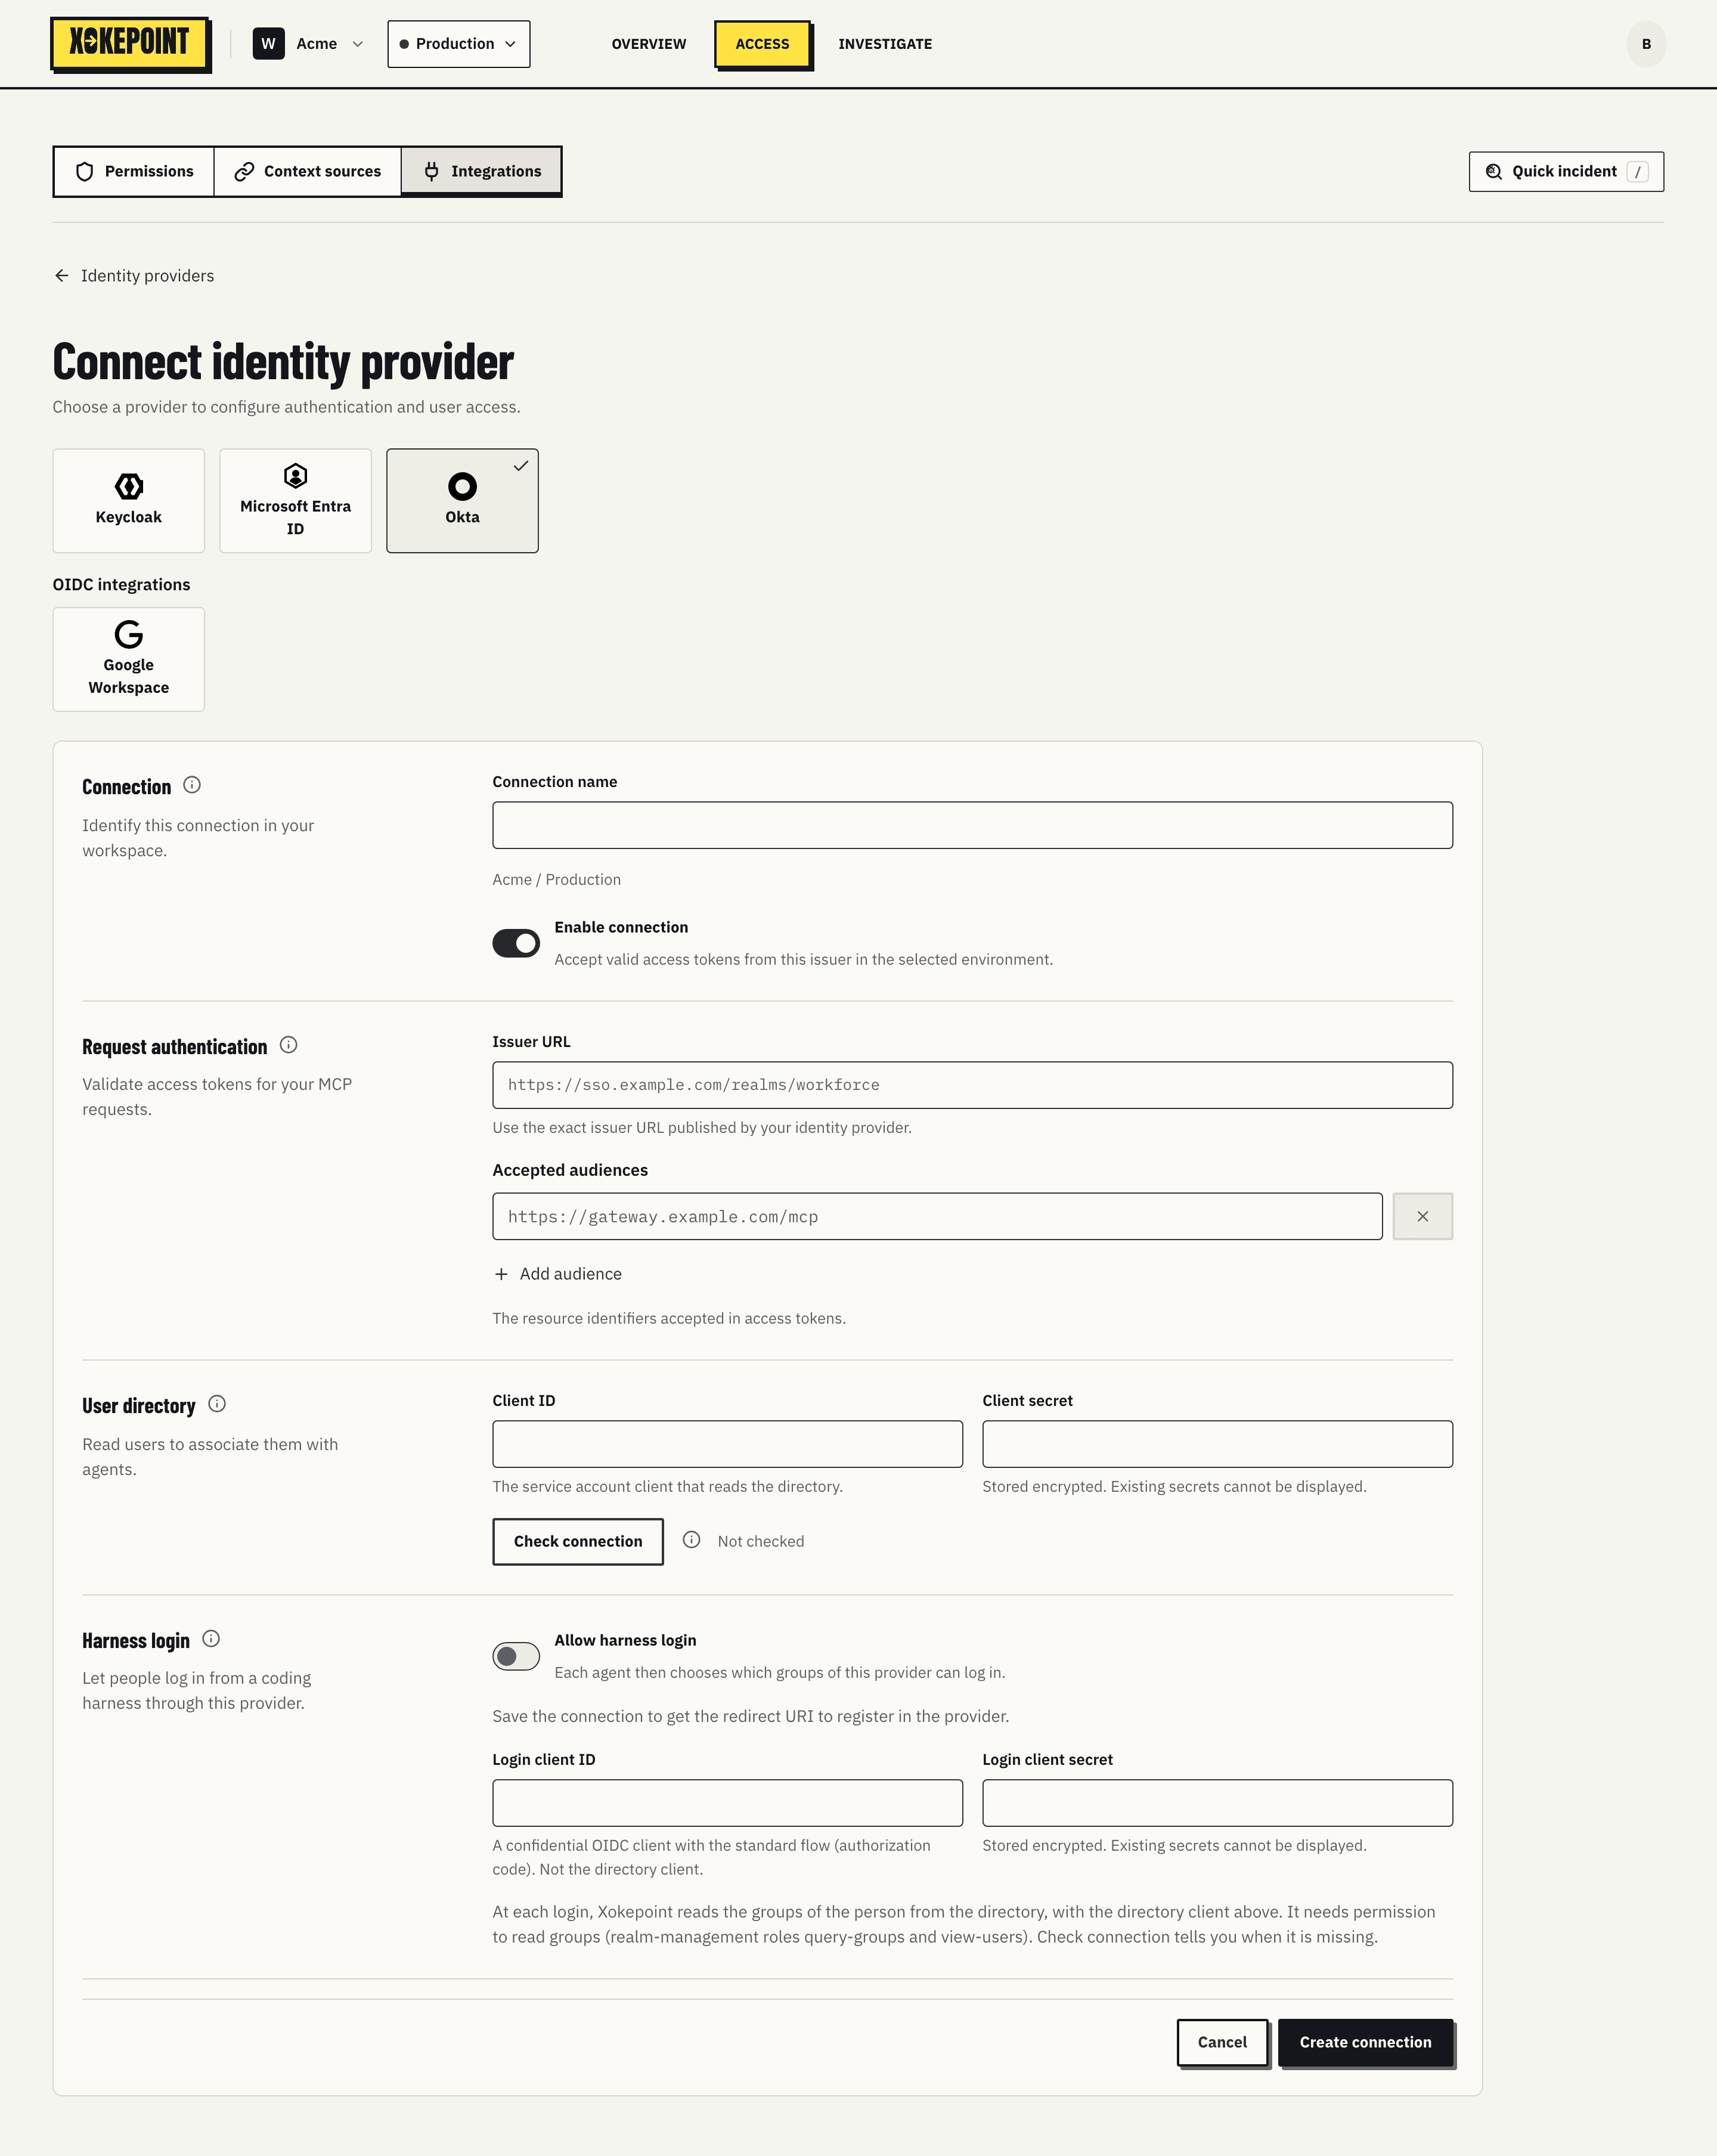
Xokepoint reads users and groups from Okta with an API Services app of your org. Okta accepts only a signed key for these apps, never a client secret: you generate the key in Okta and paste it once in the form. People who log in from a coding harness go through a second app, an OIDC Web app, because an API Services app does not sign people in.
Connection
- Connection name and Enable connection, as in other connections.
- Okta org URL: the address of your org, such as
https://acme.okta.com, or your custom domain. Not the Admin Console address: remove-adminfrom it. Find your Okta domain
Okta API Services app
The form guides you through four steps, each with a link to the Okta guide:
- Create an API Services app: in the Okta Admin Console, Applications, Applications, Create App Integration, API Services. Copy its Client ID. Okta guide: create a service app
- Generate a key: in the app, General tab, Client Credentials, Edit, then Public key / Private key. Under Save keys in Okta, select Add key and Generate new key. Copy the private key in JSON format at once, because Okta shows it only once. Keep DPoP required: each Okta token is then bound to a key that only Xokepoint holds. Okta guide: generate the key
- Grant the scopes
okta.users.readandokta.groups.readin the Okta API Scopes tab. Only a Super Administrator can grant them. Both are read only. Okta guide: grant scopes - Assign an admin role: Admin roles tab, Edit assignments, Read-only Administrator. Okta requires a role before the scopes work. Okta guide: assign admin roles
| Field | What to enter |
|---|---|
| Client ID | The Client ID of the API Services app |
| Private key (JSON) | The key that Okta shows after Generate new key, with its kid. A PEM file or a public key is refused. Stored encrypted and never displayed again. Change replaces it. A new org URL or client ID asks for the key of that app |
A person is identified by the Okta user ID, the same value in the harness login, in the tokens of your services and in the Okta directory. A new login name or e-mail address does not change it.
Deactivated people are not listed. The Everyone group of Okta is not listed either, so an agent can not be opened to the whole org by mistake. Groups that Okta imports from Active Directory or LDAP are listed with the others.
Check connection
Check connection reads the metadata and signing keys of the org, gets an Okta token with the private key and DPoP, reads one user, reads the groups and reads the groups of that user. Each message points to the step that fixes it:
| Message | Fix |
|---|---|
| Could not read this Okta org | Check the org URL, without -admin |
| Could not read this custom authorization server | Copy its Issuer from Security, API, Authorization Servers |
| Okta rejected the app | Check the client ID, paste the private key of this app, and choose Public key / Private key (step 2) |
| A scope is not granted | Grant okta.users.read and okta.groups.read (step 3) |
| The app can not read users | Assign the Read-only Administrator role (step 4) |
| The app can not read groups | Grant okta.groups.read (step 3). Harness login needs it |
Request authentication
Only needed when a service of yours exchanges an Okta access token of a user for an agent token. Okta does not let other parties validate the access tokens of the org authorization server, so this needs a custom authorization server, part of Okta API Access Management. Okta guide: custom authorization server
- Accept tokens from your services: off by default. Harness login and the directory work without it.
- Custom authorization server issuer: the Issuer shown in Security, API, Authorization Servers. It must belong to the same org,
<org URL>/oauth2/<ID>, for examplehttps://acme.okta.com/oauth2/default. - Accepted audiences: the Audience of that server,
api://defaultby default. Add audience adds another one.
The access policy of the server must allow the service of yours that asks for the token. The token must come from a person of the org: a token with no user, such as a client credentials token, is refused.
Harness login
People log in from a coding harness with their Okta account (Harness login). The login goes through an OIDC Web Application, not the API Services app:
- In the Okta Admin Console, Applications, Create App Integration, OIDC - OpenID Connect, Web Application, with the Authorization Code grant and client secret authentication. Okta guide: create an OIDC app
- Paste the Redirect URI of the form in Sign-in redirect URIs.
- In Assignments, assign the groups of the people who may log in. Okta refuses everyone else before Xokepoint sees the login.
- Copy its Client ID and Client secret into Login client ID and Login client secret.
At each login, Xokepoint reads the groups of the person with okta.groups.read of the API Services app. Every group except Everyone can be chosen in an agent.
Changing the org
If you change the org URL of a saved connection, the people associated before belong to the previous org and lose access. Xokepoint does not block the change.
Microsoft Entra ID
The Microsoft Entra ID connection form, the app registration of the tenant, the Graph permissions, the check messages and harness login.
Google Workspace
The Google Workspace connection form, accepted client IDs, the domain, the service account with domain-wide delegation and administrator consent.